Support center
Provide you with comprehensive product operation guidelines
Installer
To ensure that your inverter can be smoothly integrated into the HEMS system, it is recommended to follow the steps below:
Step 1 – Confirm the connection method and interface parameters of the inverter to the HEMS system
- Modbus-TCP communication has been established between the HEMS Controller and most models of SAJ Inverters. After being connected to the same local area network and having their parameters configured, the two devices can establish communication.
- Refer to the SAJ Inverter User Manual to confirm the exact location of the network interface, as well as the factory default parameters and the method for modifying them.
Step 2 – Establish the correct connection between the inverter and the HEMS Controller
- According to the Modbus-TCP interface parameters of SAJ Inverter, configure the IP, port and other parameters of the inverter into the sub-device information of the enjoyelec APP.
(Interface parameters and configuration methods of HEMS Controller can be found in the detailed examples below, or referred to User Manual and other materials.)
Step 3 – Enter interface parameters in the enjoyelec app
- Once the configuration is complete, the SAJ Inverter will be integrated into the HEMS system, allowing you to perform functions such as querying and controlling the device via the app.
Example
The following provides a detailed explanation of the process for integrating the inverter into the HEMS system, using the SAJ Inverter model R6-15~25K-T2-32 as an example:
Step 1 – Confirm the connection method and interface parameters of the inverter to the HEMS system
R6-15~25K-T2-32:
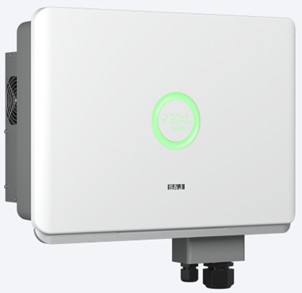
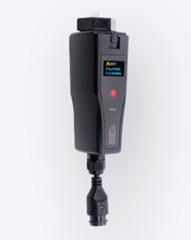
- The SAJ Inverter needs the eSolar AIO3 accessory (which can be purchased on the SAJ website) to connect to the home local area network via WiFi:
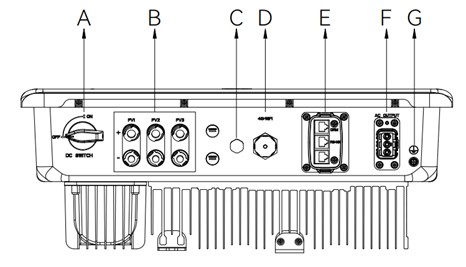
SAJ Inverter Interface Specification:
| \ | Description |
|---|---|
| A | DC Switch |
| B | DC Interface |
| C | Ventilation valve |
| D | COM(WiFi/4G) |
| E | RS485 Port |
| F | AC Interface |
| G | GND Interface |
- Connect the eSolar AIO3 module to the WiFi communication port (D) of the Inverter. Confirm that the eSolar AIO3 module has been successfully powered on.
- Download the SAJ app and proceed to configure the wireless parameters of the eSolar AIO3 module.
*Tips:
- It is recommended to set a fixed IP for the communication module of SAJ Inverter, but be cautious not to have IP conflicts with other devices within the local area network.
- Record the fixed IP of SAJ Inverter and fill it in the enjoyelec App later.
Step 2 – Establish the correct connection between the inverter and the HEMS Controller
Establish a connection through Modbus TCP, and it is required that the Inverter and HEMS Controller be in the same local area network.
- Using the enjoyelec app, after binding the HEMS Controller, proceed to the sub-device configuration and fill in the parameters of the inverter:
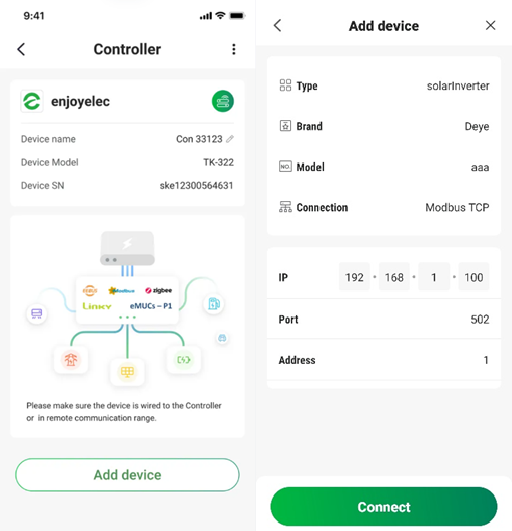
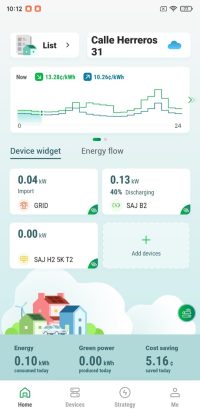
- After the HEMS Controller establishes a connection with the Inverter, information of the Inverter can be obtained on the app.
